
In this article, you will learn how to customize, navigate, and update your JobyDesk schedule to efficiently manage your team’s workload.
The schedule serves as the central hub for keeping dispatching on track and the entire team aligned. By learning how to leverage different layouts, adjust job durations, and log events or time off, you can guard against double booking and ensure your daily operations run smoothly.
Navigating and Customizing the Schedule
In order to manage your team’s agenda, you will need to access your calendar from the main dashboard.
1. Access the Schedule:
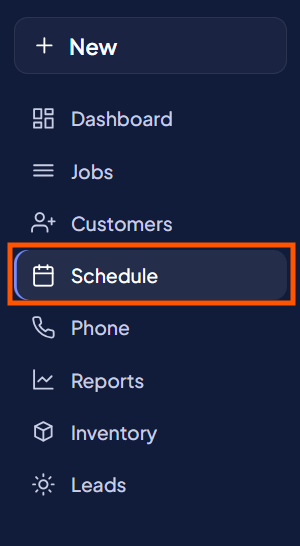
Navigate to the left sidebar and click Schedule.
2. Adjust the Calendar Layout:
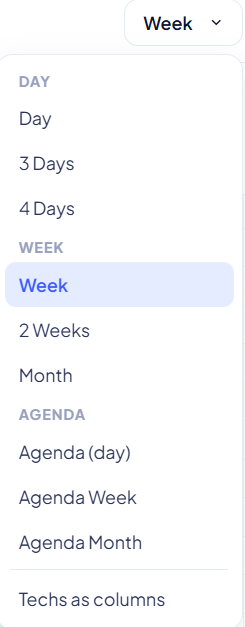
Click the View dropdown in the top right corner to customize your workflow display:
- Select Day view to zoom in on a single day’s tasks.
- Select Week view to step back for a broader look at the upcoming days.
- Select Tech as Columns to view a detailed breakdown of individual technician assignments and workloads within the day.
3. Toggle Color Coding:
Locate the color toggle right next to the View dropdown to change how jobs are visually organized:
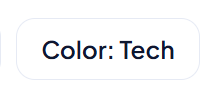
- Choose Color by Tech to highlight exactly who is assigned to each job.
- Choose Color by Status to instantly display where every job currently sits in the workflow.
Note
A red horizontal line spanning the calendar grid serves as a real-time progress tracker to help keep your day on pace.
Creating and Modifying Schedule Items
You can create new items and manage technician availability directly from the calendar grid without leaving the page.
1. Create a New Job:
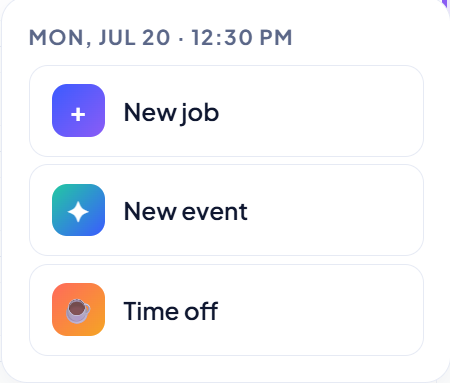
Find an open time slot on the grid, click it, and select New Job.
2. Adjust Job Duration:
To extend the scheduled duration of an existing task, simply click and drag the bottom edge of the job card.
3. Log internal Tasks or Events:
Click an open slot and select New Event to block off time for team meetings or training.
4. Log Time Off:
Click an open slot, select Time Off, choose the specific team member, and save. A bright red card will appear on the board to indicate the technician is unavailable.
5. Update Job Status:
Click any active job card to open its details panel, update the status, and close the panel. The card’s color on the main grid will instantly change to reflect the update.
Once your schedule is updated, all changes are reflected instantly across the platform, providing a real-time visual update that keeps the entire team organized and running smoothly.